Dynamic Image Lighting with CoreImage
With the kind of apps I usually make, I often end up doing a lot of gamey looking things right inside of UIKit. The addition of UIDynamics made one of those jobs, gravity, super easy. I wanted the same kind of simplicity for lights.
Using The Code #
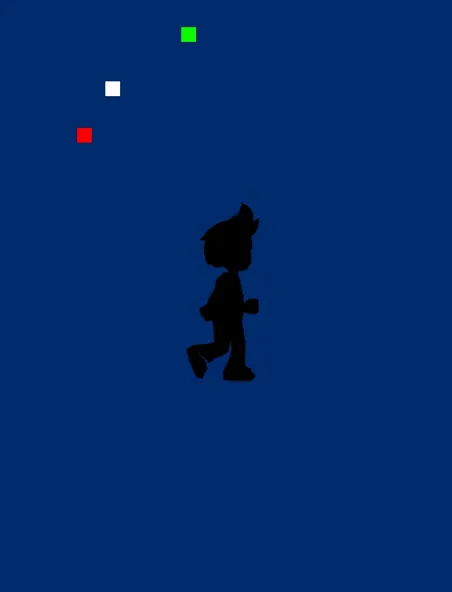
It only works on image views for now, but it works well and frame rates are good (much better than the gif lets on) for all but very large images on older devices. You can get all the code on github and using it should be pretty simple.
You just create a lighting controller, add some light fixtures and image views you want to be lit to the controller, and let it know when you need to update the lighting (when we're moving the lights in the example above). Here's the interface for the MBLightingController:
@interface MBLightingController : NSObject

@property(nonatomic) BOOL lightsConstantlyUpdating;

-(void)addLightFixture:(id<MBLightFixture>)light;
-(void)addLitView:(MBLitAnimationView *)litView;
-(void)setNeedsLightingUpdate;

@end
Only set lightsConstantlyUpdating if the lighting is always changing (this came about because I was playing around with adding a light to a rope with UIDynamics, which you can see in the project on github.)
So, there are a couple of things there that you won't know what they are, the MBLightFixture protocol, and MBLitAnimationView.
Anything can be a light, so long as it implements the protocol, which means it needs a position, intensity, range and color. I've just been using a UIView subclass but maybe your light will be a CAEmitterLayer or something.
MBLitAnimationView can be used everywhere you'd use a UIImageView, it just adds the ability to be lit, and makes working with animation easier.
Your view controller's viewDidLoad might include something like this:
//create the ligthing controller
self.lightingController = [[MBLightingController alloc] init];

//add an image to be lit
MBLitAnimationView *bg = [[MBLitAnimationView alloc] initWithFrame:self.view.bounds];
bg.ambientLightLevel = 0.1; // very dark
[bg setImage:[UIImage imageNamed:@"wall"]];
[self.view addSubview:bg];
[_lightingController addLitView:bg];

//add a light
SimpleLightView *lightView = [[SimpleLightView alloc] initWithFrame:CGRectMake(200, 200, 25, 25)];
lightView.intensity = @0.8;
lightView.tintColor = [UIColor whiteColor];
lightView.range = @250.0;

[self.view addSubview:lightView];
[_lightingController addLightFixture:lightView];
How It Works #
The light effect is achieved using CoreImage filters and everything happens in the applyLights method of MBLitAnimationView.
I experimented with a bunch of different filters trying to get the right effect, and there were several that worked so just try switching out the filters if you want something a little different.
Multiple filters are chained together, first up we need to darken the image using CIColorControls:
CIFilter *darkenFilter = [CIFilter filterWithName:@"CIColorControls"
                                           keysAndValues:
                                 @"inputImage", currentFrameStartImage,
                                 @"inputSaturation", @1.0,
                                 @"inputContrast", @1.0,
                                 @"inputBrightness", @(0-(1-_ambientLightLevel)), nil];
Then, for every light that we have, we create a CIRadialGradient:
CIFilter *gradientFilter = [CIFilter filterWithName:@"CIRadialGradient"
                                              keysAndValues:
                                    @"inputRadius0", [light constantIntensityOverRange] ? [light range] : @0.0,
                                    @"inputRadius1", [light range],
                                    @"inputCenter", [CIVector vectorWithCGPoint:inputPoint0],
                                    @"inputColor0", color0,
                                    @"inputColor1", color1, nil];
Then we composite the gradients with the darkened image using CIAdditionCompositing:
lightFilter = [CIFilter filterWithName:@"CIAdditionCompositing"
                                     keysAndValues:
                           @"inputImage", gradients[i],
                           @"inputBackgroundImage",[lightFilter outputImage],nil];
Finally, we mask the image to the shape of the original image:
CIFilter *maskFilter = [CIFilter filterWithName:@"CISourceInCompositing"
                                      keysAndValues:
                            @"inputImage", [lightFilter outputImage],
                            @"inputBackgroundImage",currentFrameStartImage,nil];
Just set the image view's image property to a UIImage created from the final filter's output and we're done!
CGImageRef cgimg = [coreImageContext createCGImage:[maskFilter outputImage]
                                                  fromRect:[currentFrameStartImage extent]];

UIImage *newImage = [UIImage imageWithCGImage:cgimg];
imageView.image = newImage;

CGImageRelease(cgimg);
What's Next? #
Playing with CoreImage was fun so I think I'll revisit the code at some point in the future, I'd like to try it out with SpriteKit's SKEffectNode where it really makes more sense for using with games. Or I might keep working with UIKit and get it working for any view–shiny / shadowy interfaces might be interesting.